Introduction
Just as onboarding is an important first experience for your users, the very first part of onboarding, the onboarding welcome page, is crucial, too. If you’re leveraging an in-app onboarding strategy, think through what that first moment in your app looks and feels like. Hint: It’s not necessarily effective to simply drop new users into your application and immediately expose them to product walkthroughs and tours.
What is a welcome page?
A welcome page is your users’ first stop when they log into your application. It’s the first chance you’ll have to make a good first impression.
A helpful welcome page will ensure users know they’re in the right place, and how they can learn more about this new application. Something as simple as an in-app message welcoming and introducing users to your app can go a long way, helping to orient and make them feel supported right off the bat. As opposed to delivering this type of message via email, an in-app welcome experience means you’re able to greet users when they’re actually logging into your product for the first time.
This welcome page is also the launching pad for the rest of your onboarding. If users skip over it, they may get lost in the app or worse: get frustrated and leave the product altogether. It’s important to ensure users see value in your product as quickly as possible, and it all starts with effective onboarding.
Although the welcome page is only one part of your in-app onboarding strategy, it’s an important one. Throughout the rest of this guide, we’ll walk through how to create an effective and engaging welcome page design that will help get your new users started on the right foot.
5 steps in designing your user welcome page
Step 1: Choose your guide type
As you start building out your welcome page, start with the star of the show: your in-app guide. This message is meant to welcome a new user to the product and provide some details around what they can expect to experience. Choosing which type of guide to use for this onboarding welcome message will largely depend on your product’s complexity and capabilities–for example, if users only go to your app to do one thing, you might opt for a more subtle guide that doesn’t take over the entire screen.
Here are a few guide types to consider:
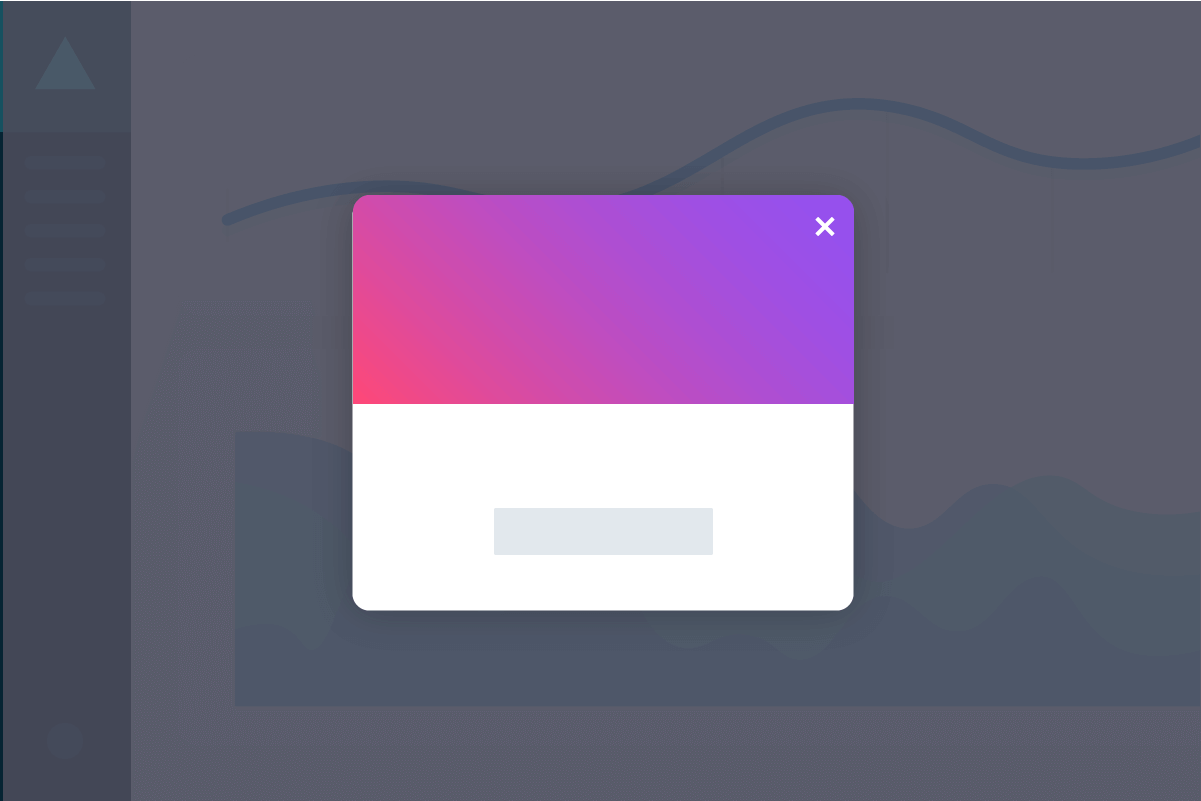
Lightbox: Also referred to as a “pop-up” or “modal,” lightboxes often dim or darken the rest of the page to emphasize the content on the guide itself. Since this experience can feel intrusive, make sure the information you’re providing via a lightbox is valuable and provides clear next steps for new users.
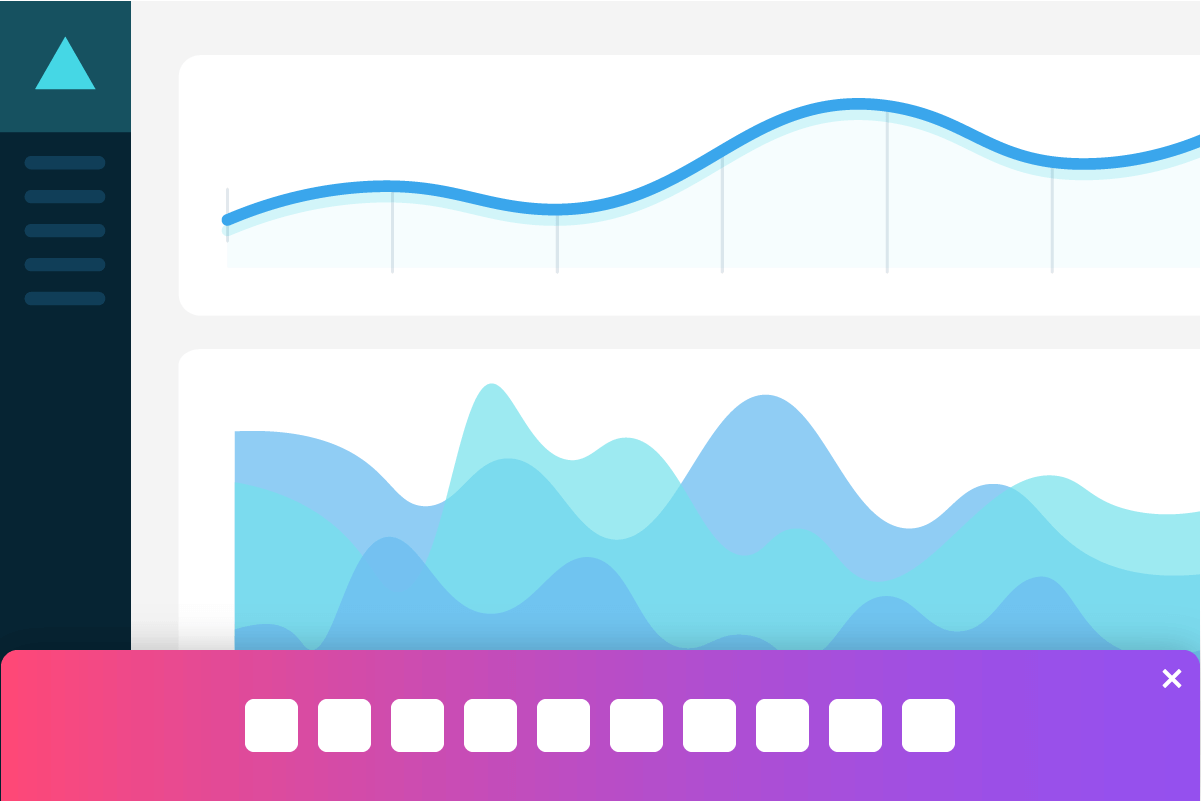
Banner: These in-app messages are aligned to the edge of the browser or phone screen. Since the rest of the screen usually remains clickable, banners are less intrusive than lightboxes, and are particularly useful if the intention of your welcome message is to direct users to a more in-depth walkthrough (more on this in Step 3).
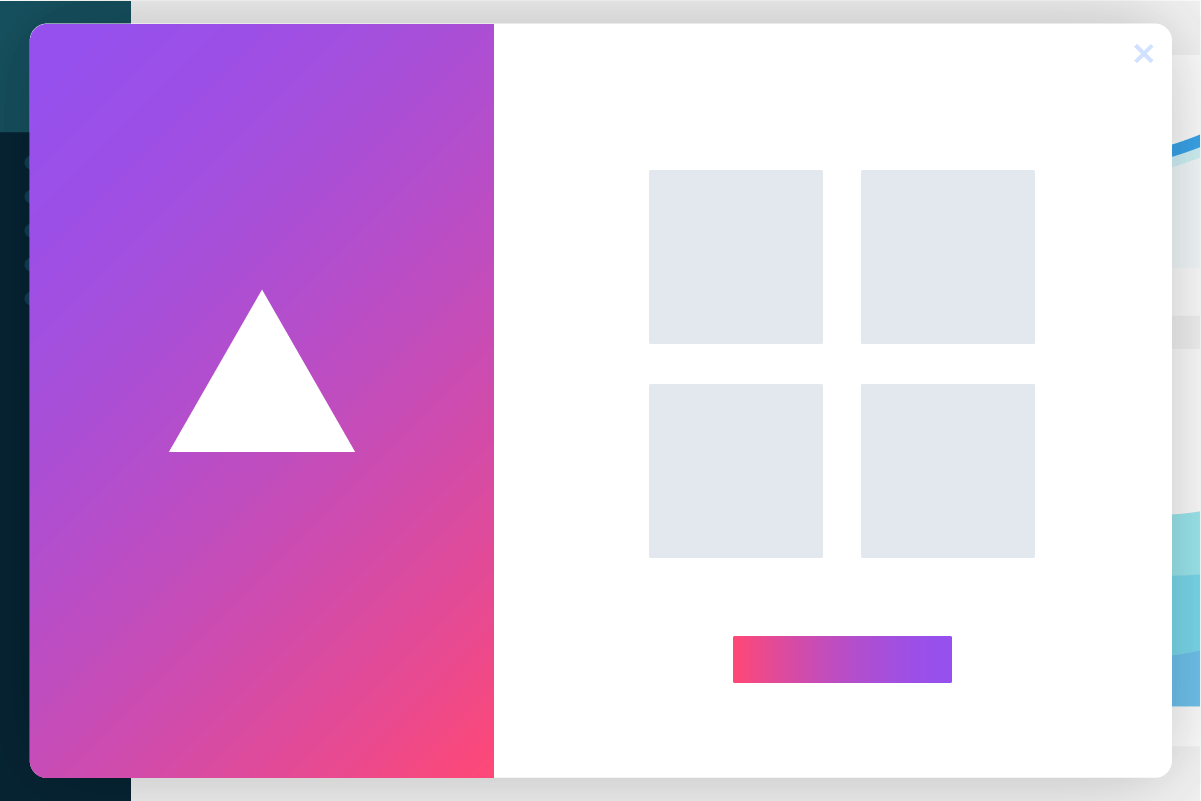
Full-page guide: It can also be useful to leverage a full-page guide for your welcome message, since it offers more space to provide details and resources. If you choose to create a full-page guide, consider including an explanation of your app’s main benefits so users know what they’ll get out of your product right away.
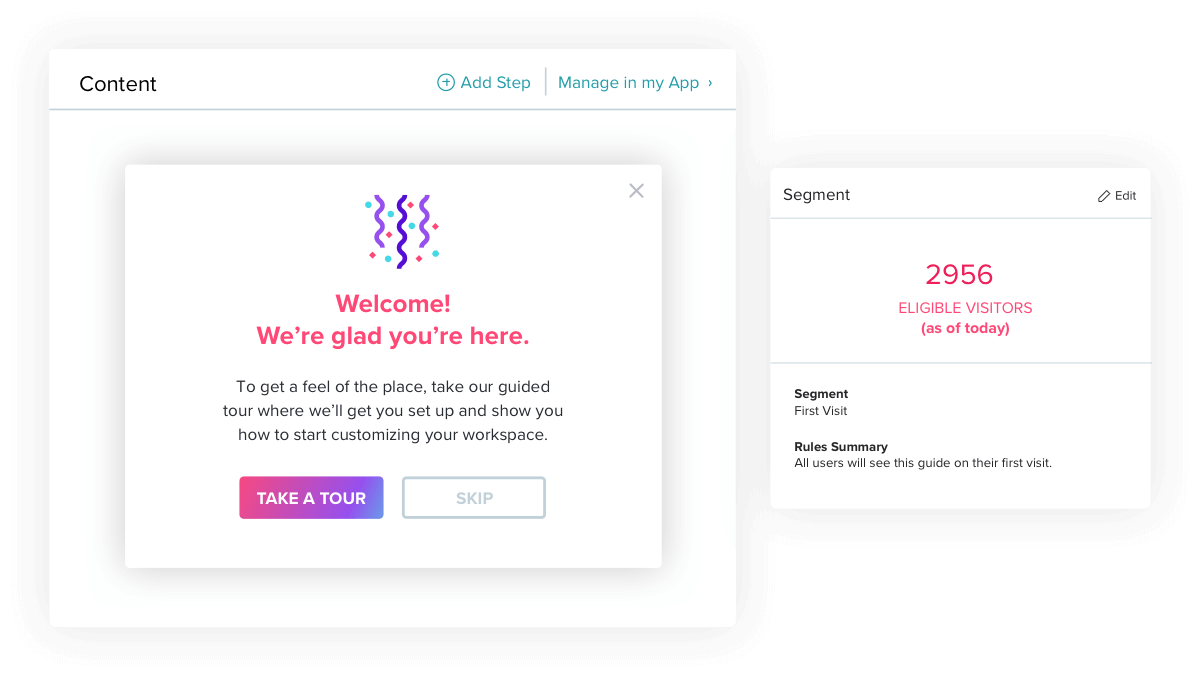
Step 2: Craft your onboarding welcome message
Once you’ve chosen which type of guide you’ll use, the next step is to determine what content to put on the guide itself. For an onboarding welcome message, you want to strike the right balance between providing enough information, but not providing so much at once that it overwhelms new users. Focus on including information that explains your product’s value and the benefits users will gain. And instead of serving users blocks of text, consider structuring the content as a bulleted list to make it easier to consume.
As the name suggests, your main goal is to make users feel welcome. To the extent your brand guidelines allows it, use a conversational tone and err on the side of simplicity. Speaking of branding, make sure your guide matches the look and feel of your product–the last thing you want is users leaving your app because a pop-up message looked like spam to them.
Learn how to use in-app guides to build personalized onboarding by taking a self-guided tour of Pendo.
Take a tour ->Step 3: Decide where to direct users
Beyond making new users feel welcome, this first in-app message they see should lead them to where they need to go next. As you’re putting together the content for your in-app welcome page, think about which CTA(s) you’d like to include, too. Again, the optimal path will really depend on your product and where you feel users will gain the most value when they’re accessing the app for the first time.
Here are some calls to action you may want to use:
Product tour: Serving as a high-level overview, product tours are a great way to orient new users to the main areas of your product. The key is to show a variety of parts of your app, while still sticking to the areas that demonstrate the most value.
Walkthrough: These are similar to product walkthroughs, but instead focus on a specific task or workflow. During walkthroughs, users are able to interact with your product and the guides at the same time, allowing them to learn by doing. If a product tour feels too broad for your product, consider creating a few different walkthroughs based on your key user personas or use cases. You can also use product data to identify the paths taken by your most successful users, and use that to structure your initial walkthroughs.
Video: Since everyone learns differently, it can be effective to link out to a video (or include it in the guide itself) from your welcome page. If your team has created an overview video of the product, this is a great time to point new users to it.
Let users explore on their own: As much as we want to curate a new user’s first experience, some may prefer to dive into your product on their own. If you’re including a CTA to a product tour or walkthrough in your welcome message, consider adding an option like “Explore on my own” that lets users opt out of any guided walkthroughs. This is when it’s useful to house educational walkthroughs in your product on-demand as well, so users can go back to them later when they’re ready for a tour or refresh.
Link to more resources: In the same vein of letting users explore your product on their own, it might make sense to point new users to a resource hub where they can find more information when they need it. Making users aware of this right away will ensure they know where to go when they need help.
Step 4: Add the appropriate segmentation and timing
First and foremost, you’ll want to target your welcome message only to new users, for example by creating a segment using “first visit” parameters. If you’re planning to create (or have already created) multiple onboarding flows based on things like user role or company size, add this segmentation to your welcome guide as well. If you know your team will create additional in-app walkthroughs geared toward new users, be sure to set up your welcome guide so that it displays before any other guide a user may be exposed to.
Step 5: Choose your “close” path
Creating an effective welcome experience means thinking about a user’s experience all the way through to the moment they close out of the guide. Most importantly, decide how you want to handle users’ ability to close out of the welcome message. You might prefer to make your welcome guide hard to avoid, or you might want to give users a clear way to close out and get started in your product on their own. For example, if you use a lightbox, you could prevent users from interacting with the rest of the page until the message is dismissed (and hopefully, read). If you decide to leverage a full-page guide, be sure to include a clear “close” button. Just because you want users to view this initial welcome message, doesn’t mean you should make it difficult for them to dismiss it.
Although onboarding goes far beyond an initial in-app guide, remember that the welcome experience is a very important starting point. From there, you can work to ensure new users find value in your product quickly and stay engaged long into the future.
Check out these effective app onboarding examples to help you bring your welcome page to the next level.